Monday, December 12, 2011

Christmas treats

..Last year I made these yummy licorices for our neighbors as little Christmas treats..This year I am making a bunch of different cookies, that I found in Pinterest !
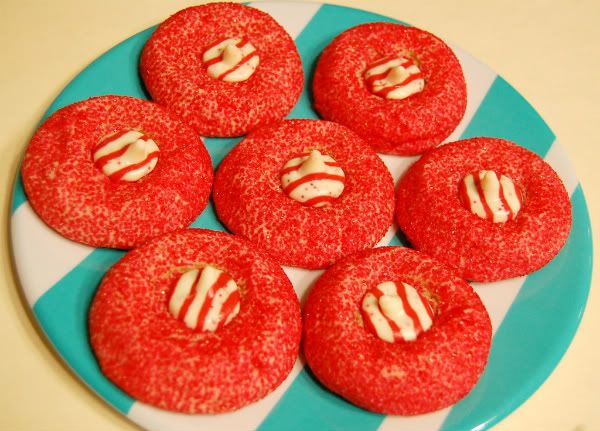
These are Candy Cane Blossoms...they were pretty easy to make.

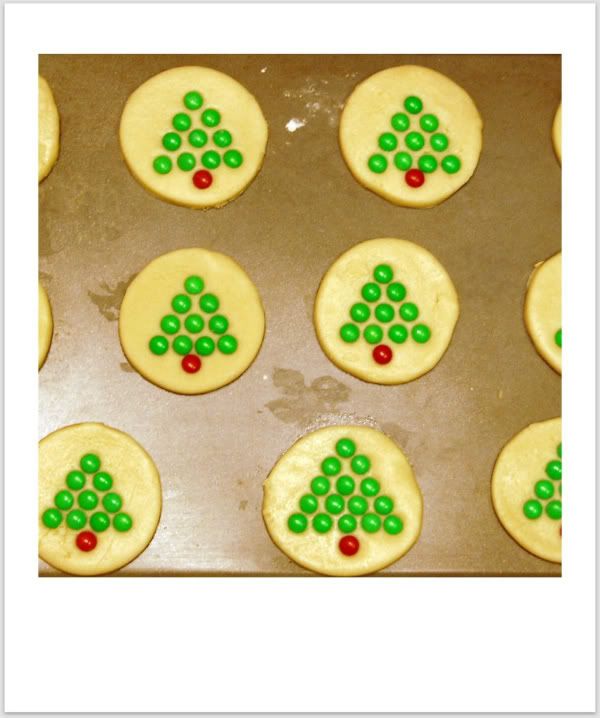
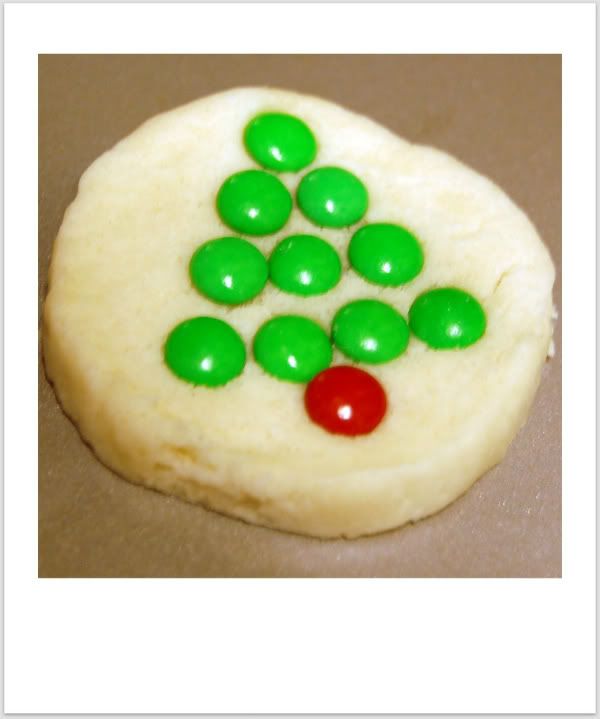
...and then I decided to give these Tree cookies a try....and I won't go into detail, but they looked cuter unbaked....

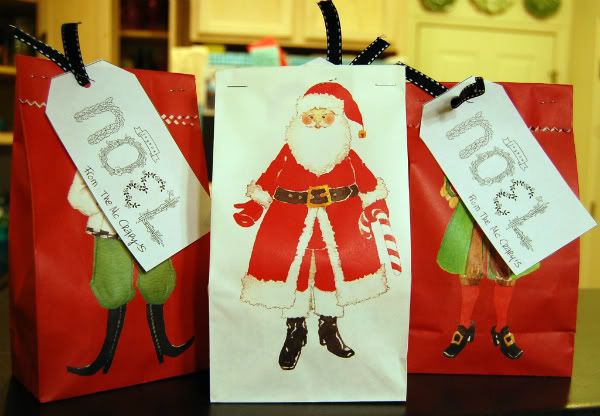
...finally I just used these bags that I bought at Ikea long time and ago, with these tags that you can print, and voila!....
...I still have to make a few more treats....so more ideas to come!

Saturday, December 3, 2011

Reindeer cookies

After seeing a gazillion pictures here of these cookies, I decided to give them a try...

...they are cute, easy and perfect for the season!...
...I didn't feel like making them from scratch, so I bought a mix of ginger cookies, baked and decorated them...I'm so excited for Christmas!

Friday, December 2, 2011

The Festival of Trees...

...is one of my favorite things to do during Christmas...this year I only went  for work, so I couldn't see and enjoyed it like other years...oh well...
...Diego would have loved the "UP" tree...

Thursday, October 20, 2011

Foam

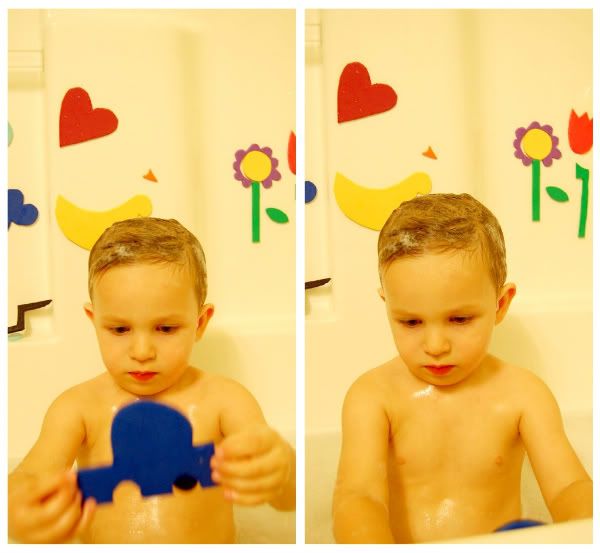
Inspired by this very talented girl....I decided to make some foam figures for Diego to play in the tub...he loved them, and it was very hard to get him out of it....he loved putting the wheels in the car, making the flowers, playing with the clouds...I will definitely make many many more!


Sunday, October 2, 2011

Crayola art, while Diego took a nap.

After seeing this idea in Pinterest ,

I decided to give it a try and create some art for Diego's room....and voila!
******
Vi esta idea en Pinterest, de como crear un cuadro bastante original con ceras, y decidi  intentar hacer mi propia version, y voila! (abajo estan las instrucciones paso por paso, es muy facil!...solo hay que pegar las ceras una a una en la parte superior de un lienzo blanco, y luego con un secador de mano se van derritiendo, y al caer la cera va creando interesantes dibujos!...muy facil y perfecto para el cuarto de Diego!)
...kind of happy with the final result...I wish I would have added more bright colors, and eliminated the browns and black, but oh well...overall I like it and Diego loooves it!...he screams "pinta" (to draw) everytime he sees it...
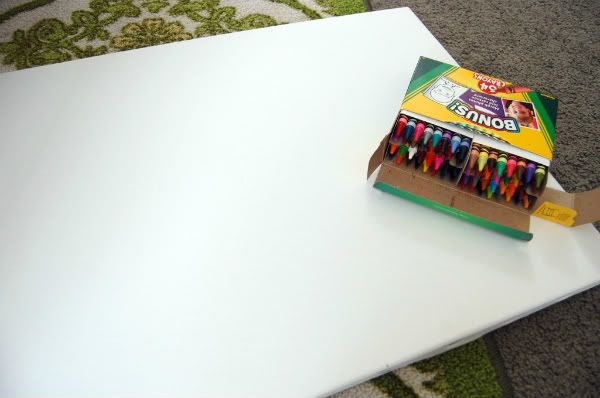
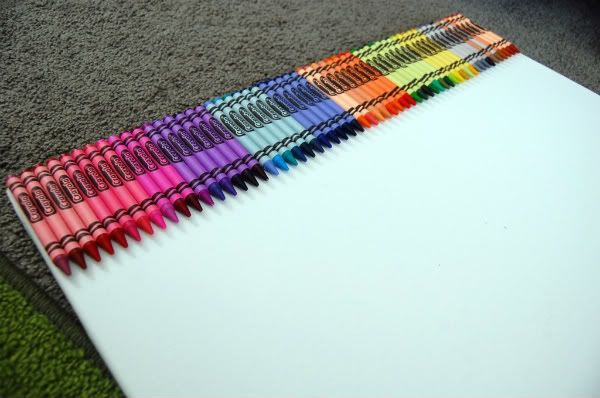
...so this is what you start with...a white canvas and a  box of crayolas....(I bought the 64 units one, but if you want to make it brighter, you'll have to buy a smaller extra box)

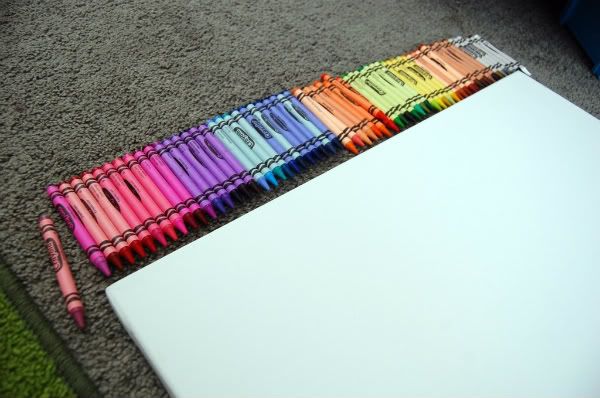
...then you figure out what your color scheme is going to be like...
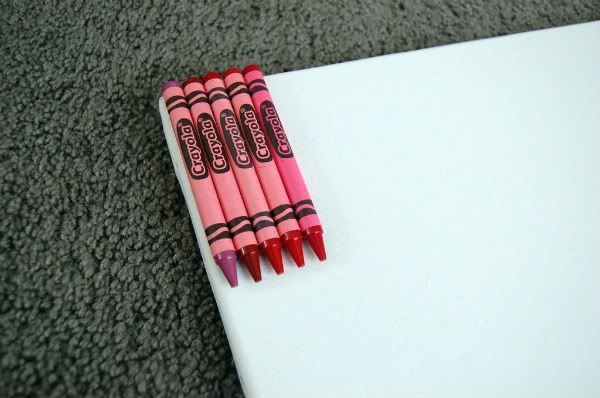
..and then you get busy with a glue gun!...
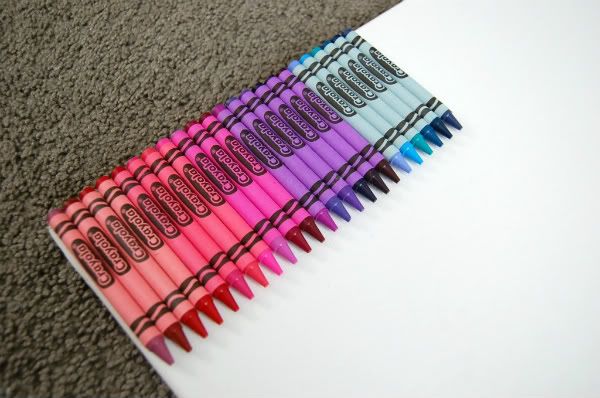
...almost half way through...
...all glued!...
...and then this if the fun part: get your hair dryer and start melting!
(I almost didn't want to do the last step...it looked so pretty already....)
...and after about 20 minutes of melting by sections this is it!....NOTE: make sure you cover not only the floor but also the walls for this last part....there are splashes of color all over my living room wall....yikes!
It was overall a fast craft, about an hour an a half total time!...thanks Pinterest:)

Tuesday, September 27, 2011

Autum wreath


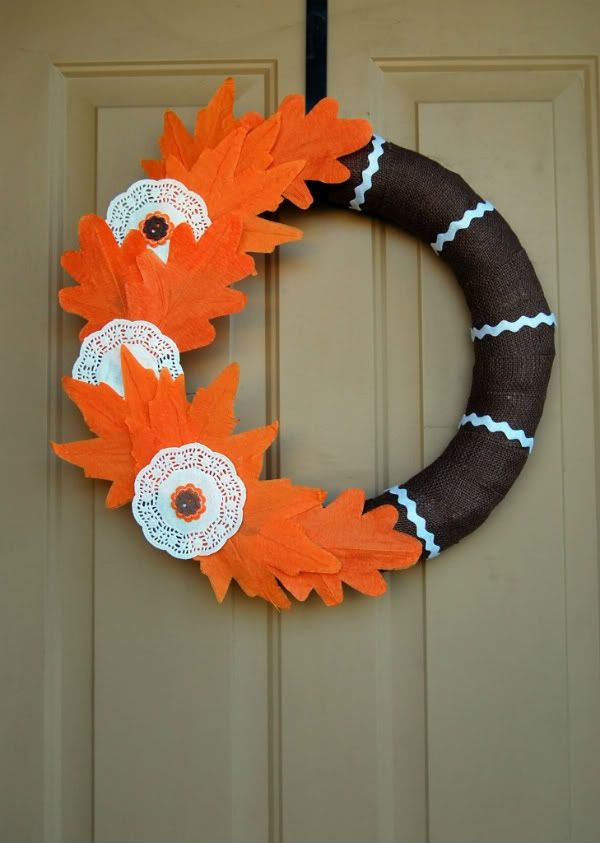
...finally I decided to make a fall wreath...and after seeing a gazillion of them in my newest obsession (pinterest) I got busy this past weekend.
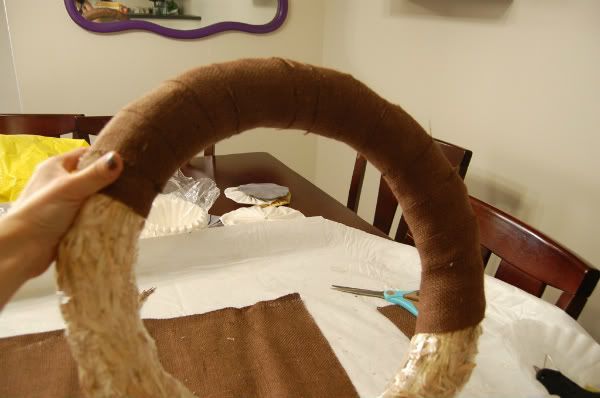
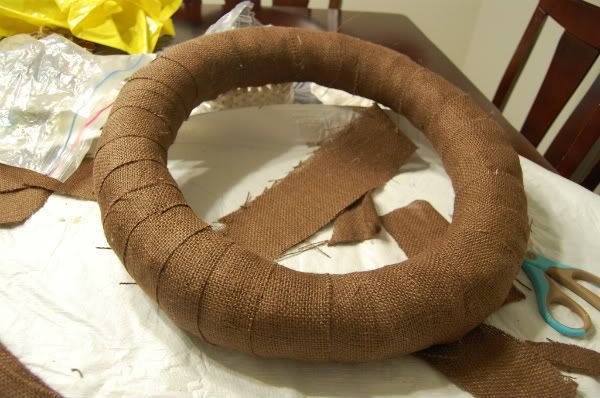
Total cost: about $5. I already had the wreath. I just bought some brown burlap and after cutting some stripes, started to wrap the wreath...

...that was the most boring part, plus the glue gun and I have a "love-hate" relationship, so I got a few burns...
...and after that, the fun part! I used stuff that I bought at the dollar store to decorate it...
something tells me that this will not be the last one I make!

Sunday, September 25, 2011

"better than nothing...."

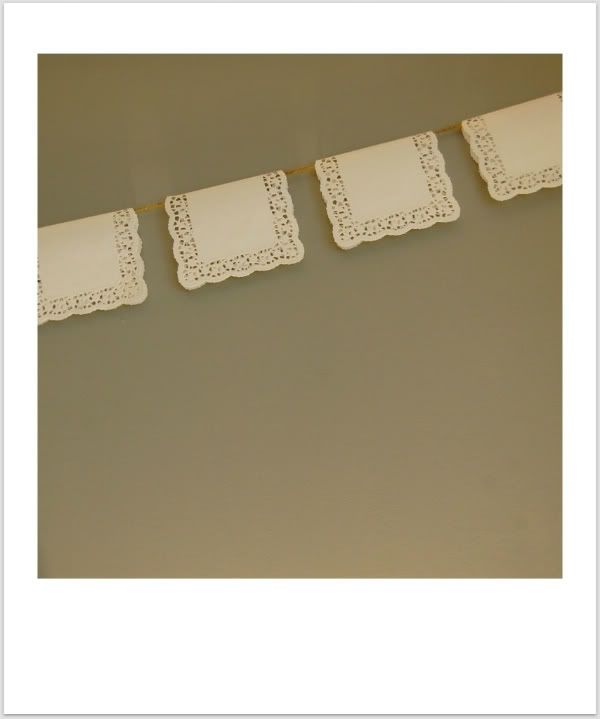
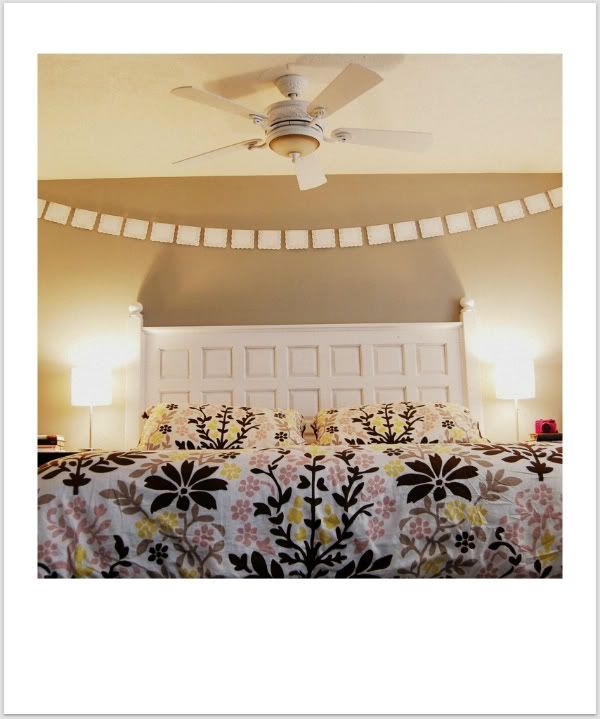
...those were literally the words that came out of Mike's mouth when I asked him if he liked the new doily banner that I made for our bedroom...
so encouraging, huh?...hehe..I still love him...the best part is that it was only $1!....I bought the paper doilies at the dollar store and I used some cute twine that I had from Diego's b-day decorations from last year. I only folded them, stapled the bottom of each doily so they wouldn't open, and voila! done!
....I think is cute...
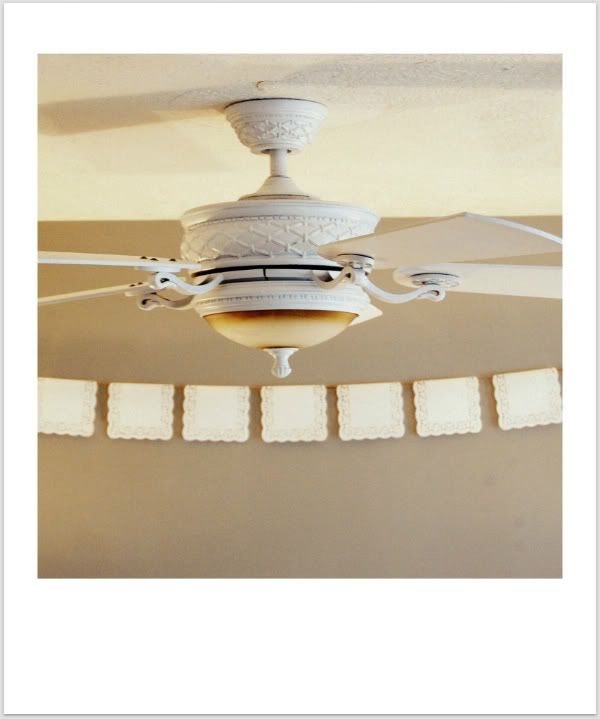
...oh ans I also spray painted a ceiling fan that Mike's parents donated to us!...it was brown (a pretty ugly brown) and now is cute and white to match the bedroom!...I'm in love with spray paint!..

Friday, July 8, 2011

Did you know....

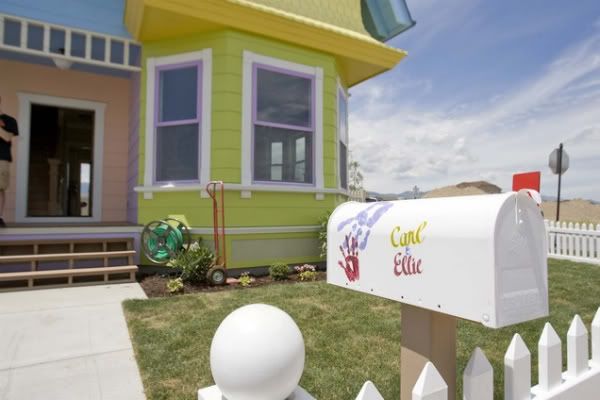
that there is a house here in Utah (Herriman) being built as a replica of the cartoon one in "Up"?....Seriousy, if I had $400.000 I would live there...forever...

(Paul Fraughton | The Salt Lake Tribune)

...more info, here.

Wednesday, July 6, 2011

Balsamic & Parmesan Roasted Cauliflower

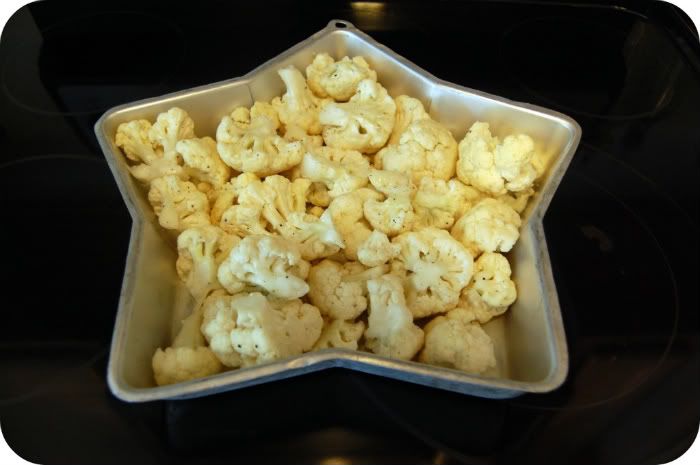
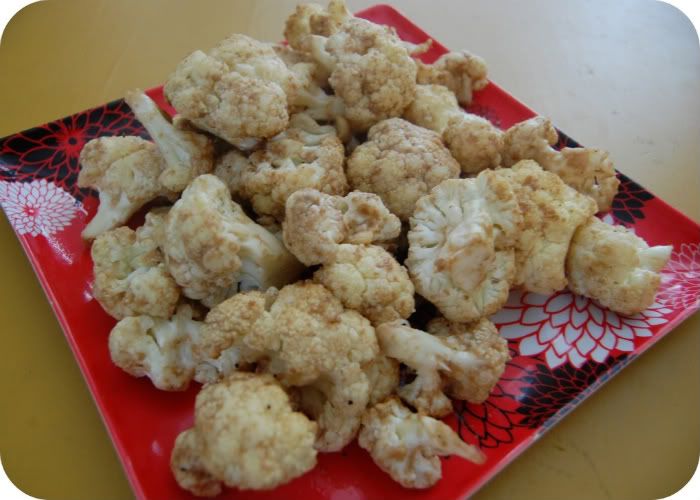
...I'm trying to eat healthier, so I saw this recipe here, and decided to give it a try...
...and I don't know where my baking sheet it, so I cooked it in my beautiful star mold...
...the result?...nah...good but not as I expected it. Here is the recipe anyways:

Ingredients

  • 8 cups 1-inch-thick slices cauliflower florets, (about 1 large head; see Tip)
  • 2 tablespoons extra-virgin olive oil
  • 1 teaspoon dried marjoram
  • 1/4 teaspoon salt
  • Freshly ground pepper to taste
  • 2 tablespoons balsamic vinegar
  • 1/2 cup finely shredded Parmesan cheese
 Preparation
  1. Preheat oven to 450°F.
  2. Toss cauliflower, oil, marjoram, salt and pepper in a large bowl. Spread on a large rimmed baking sheet and roast until starting to soften and brown on the bottom, 15 to 20 minutes. Toss the cauliflower with vinegar and sprinkle with cheese. Return to the oven and roast until the cheese is melted and any moisture has evaporated, 5 to 10 minutes more.

Monday, June 27, 2011

S'more cookies...yesss....

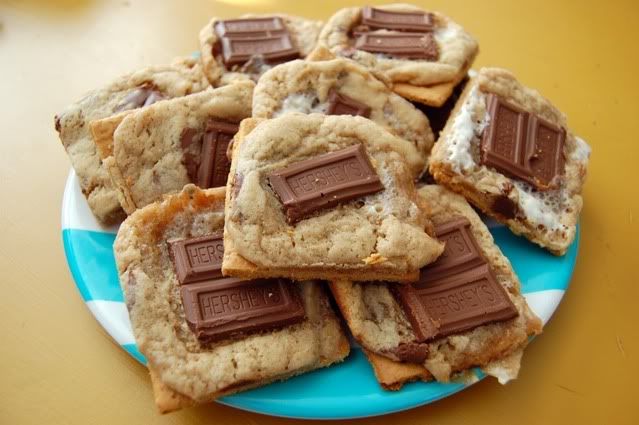
...We just went camping and had some (a lot) of extra stuff to make s'mores...I saw this recipe here, so I decided to give it a try...the result: AMAZING!
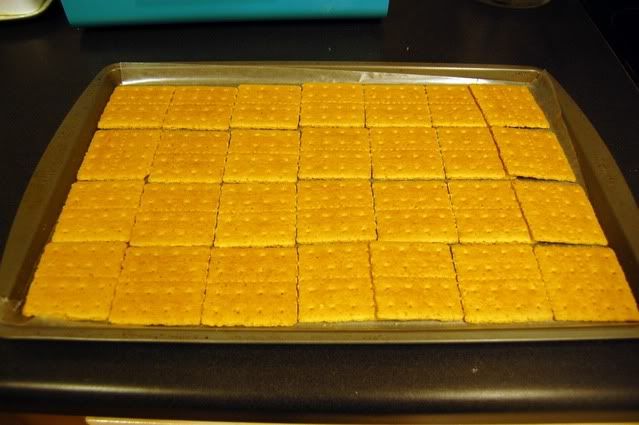
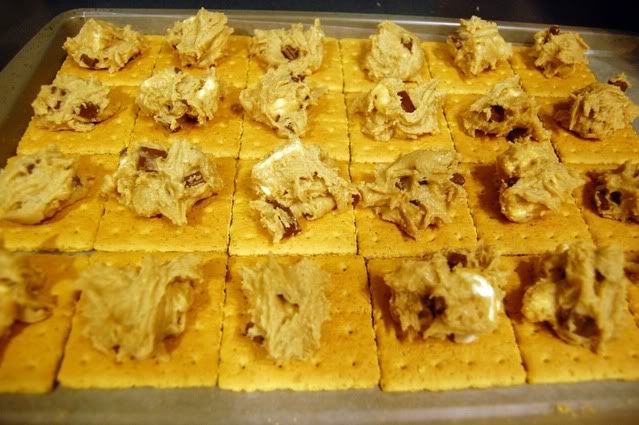
...Basically you just make a bed of graham crackers...
...prepare a special cookie dough with marshmallows and place it on top...
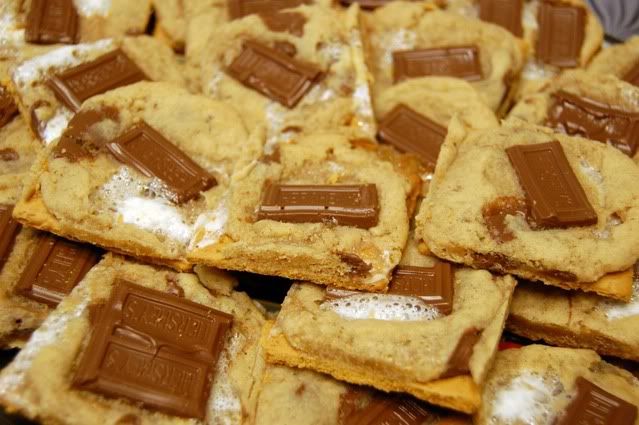
...cook it for 5 minutes, then put some Hershey's chocolate on top...
...and cook it for another 5 minutes!...so, so, so GOOD!...Here is the recipe: 

S'mores Cookies
Source: Ice Cream Before Dinner

11 Tablespoons unsalted butter, softened
1 cup brown sugar, packed
½ cup granulated sugar
2 large eggs
1 teaspoon vanilla
1 teaspoon baking soda
½ teaspoon sea salt
1 teaspoon cinnamon
2 ½ cups flour
1/2 cup semi-sweet chocolate chips
1 cup mini marshmallows
3 regular sized Hershey’s bars, broken into pieces
1-2 packages graham crackers, broken into squares

Directions:
Preheat the oven to 375 degrees. Line baking pans with parchment paper. I used one 11x17 pan and one 9x13 pan but you can really use any sized pans you want.

Lay out graham crackers side by side on the pans as close as possible (they should be touching). I used 16 graham cracker squares on one pan and 10 squares on another. You may have to add or remove graham crackers according to how much dough you have. If you want your cookies thicker you will use more dough and less graham crackers.
In a medium bowl, whisk together the flour, baking soda, sea salt and cinnamon to combine. Set aside.

In the bowl of an electric mixer, cream butter with white and brown sugar until light and fluffy. Add the eggs and vanilla and mix until combined.

Add the flour mixture to the butter mixer and combine on low speed.

Fold in the chocolate chips and marshmallows. Chill dough in refrigerator for 1 hour to overnight

Place tablespoons of dough on graham crackers about 1 – 1 ½ inches apart. I averaged about 1 1/2 tablespoons of dough per graham cracker square as seen in the picture above. Press down slightly with fingertips.

Bake for 5 minutes then remove from oven to press Hershey’s bar pieces on to the top. You can place as many pieces or as little as you want depending how much chocolate flavor you want.

Bake for 5 – 7 more minutes or until dough is beginning to turn golden brown at the edges. Remove to a wire rack to cool. For clean cutting make sure cookies are completely cool and cut with a sharp knife.

Monday, June 20, 2011

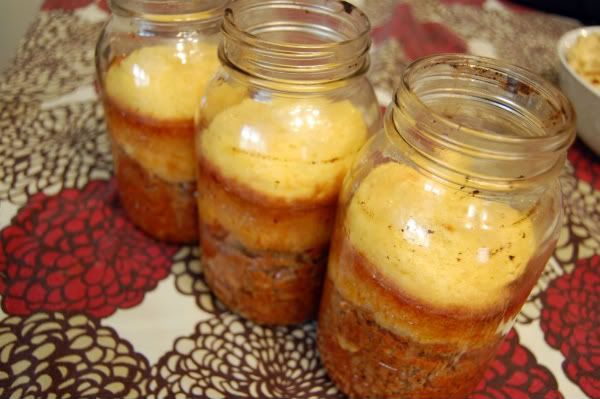
Pico de Gallo salad and Chili and corn bread in a jar?

...For Fathers day I wanted to cook something special for the best father (after mine, of course:) in the world...my Mike...

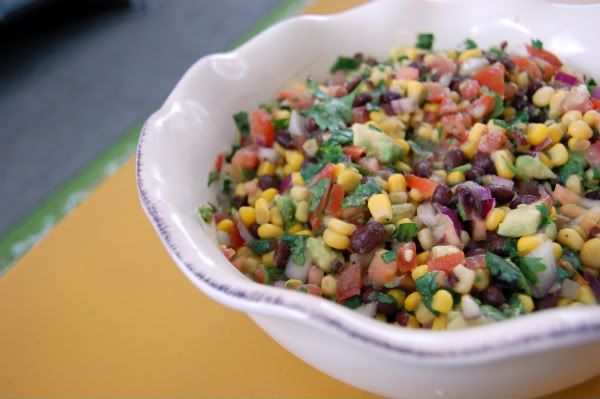
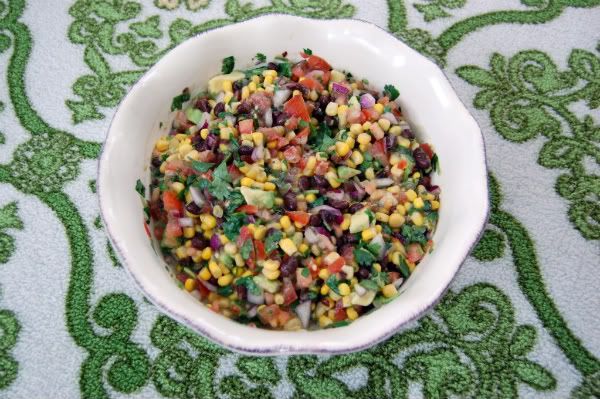
and after finding this recipe here, decided to give it a try...Soo easy, so good and so healthy!
Pico de Gallo Salad
Recipe by"La Kocinera"

2 Tomatoes, chopped
½ bunch fresh Cilantro, chopped
½ Red Onion, chopped
Juice of 1-2 Limes
1 can Corn, drained
1 can Black Beans, drained and rinsed
1-2 JalapeƱos, finely diced
Salt and Pepper, to taste

Combine all ingredients in a large bowl and refrigerate to chill.
Serve with chips, on its own, or as a topping for just about anything. 
I doubled it to make more, didn't use the jalapeƱos (hate spicy stuff) and also added two avocados...delish...


...Also I saw this wonderful idea here, so it was time to try!
You basically make Chili and then  scooped it into the jars. Then I mixed up cornbread batter and spooned it on top and baked it for like 15 min.
Soo good!...Give it a try!