Saturday, October 30, 2010

Sunday, October 24, 2010

The party!


...Mr. D's little cake...I used this mold , remember? and decorated it with store bought frosting and a very basic set of tips...not too bad for a first time, huh?

...we also had some "mustaches" for the wall that I set up with the fans that I used for Mr. D's little photoshoot so people could take their picture...

...basic set of pompoms attached to strings...

...the wall+decorated water bottles...

...the whole room had this strings with pictures of Mr. D's first year of life...

...and finally, family and friends pictures!....


Mr. D loved to play with the frosting but he never even tried the cake...boo:)

...it was a fun night with family and friends...I just wish I would have had more time to prepare better, but oh well...we did celebrate my Mr. D's best year!

Saturday, October 23, 2010

happy b-day Mr. D!


...today is his big day!...so I don't have too much time now...going crazy with last minute things for his party....more pictures to come!

Tuesday, October 19, 2010

Almost ready...

...for my Mr. D's big day!...

...and I can't believe that he's going to be one...

...oh and also I can't believe that he thinks he can lift that big ol' pumpkin!

Tuesday, October 5, 2010

Fun fans tutorial and my little Mr. D's. photoshoot for his b-day invitations!


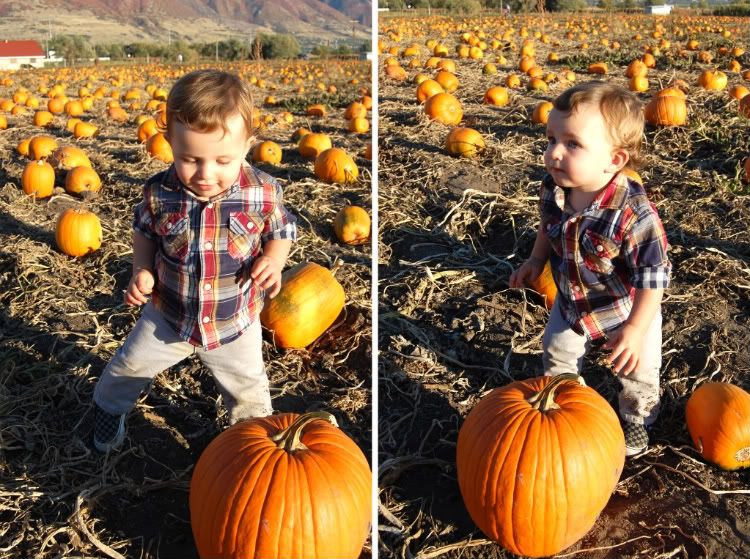
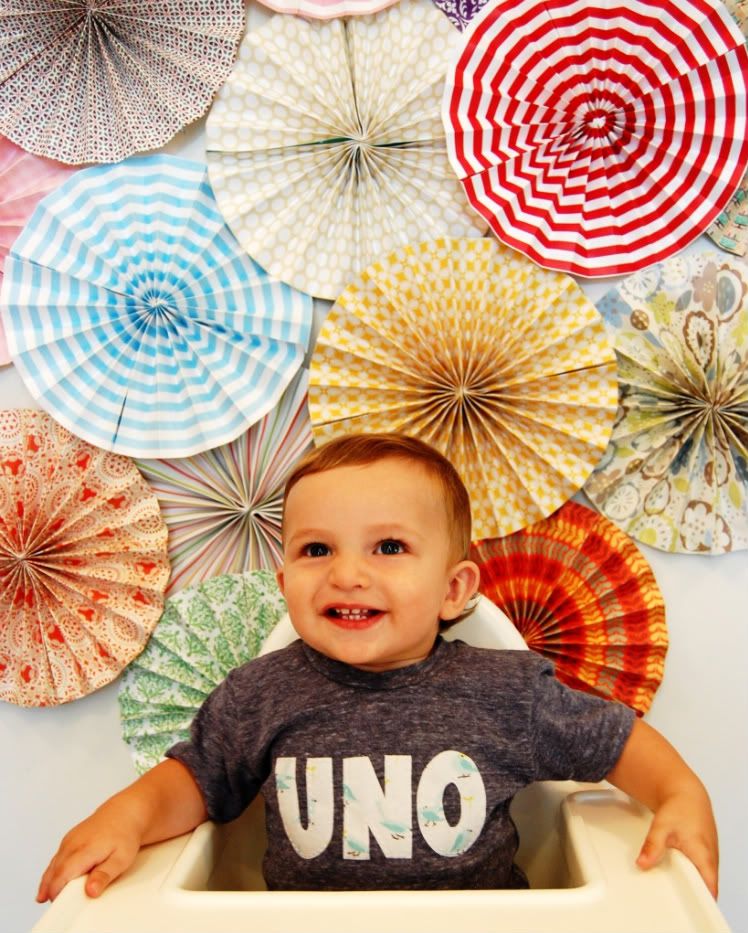
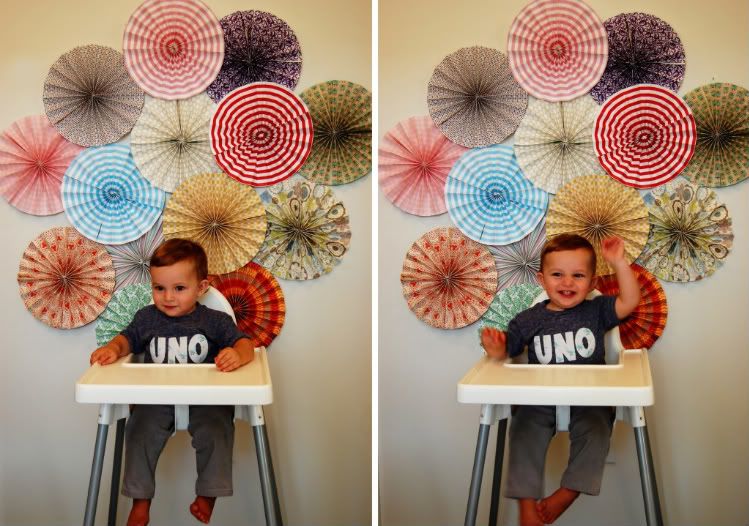
I'm in love with him, with the fans, with his shirt with his expression...I could not love this picture more... I'm working in this wall for the house and I decided that it would be the perfect spot to take the picture of my Mr. D in his b-day shirt for his birthday invitations...

...so took his chair and got in action!...he even did the finger showing how old he is going to be in a couple of weeks!


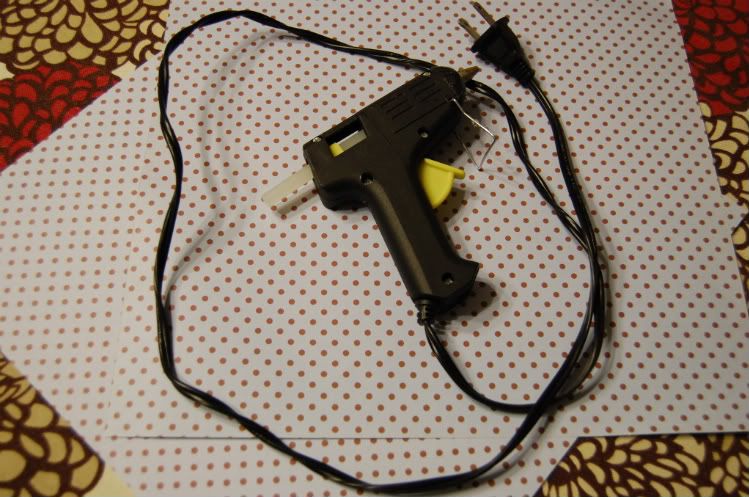
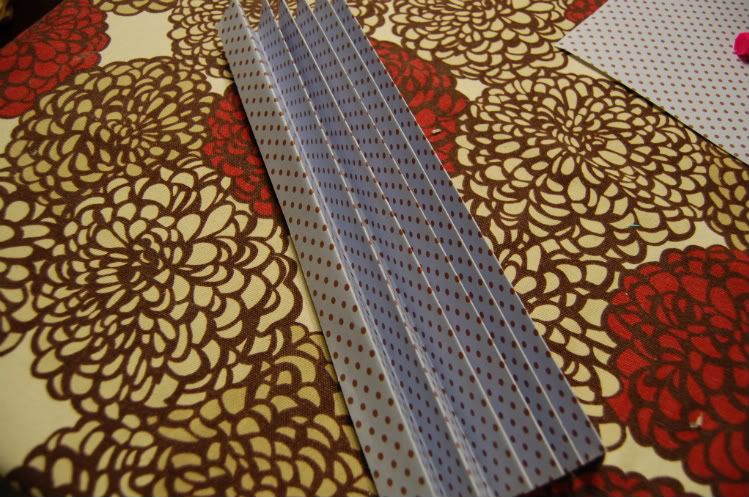
...And here it is, the tutorial:First, you only need two scrapbook pages of exactly the same size and a glue gun...

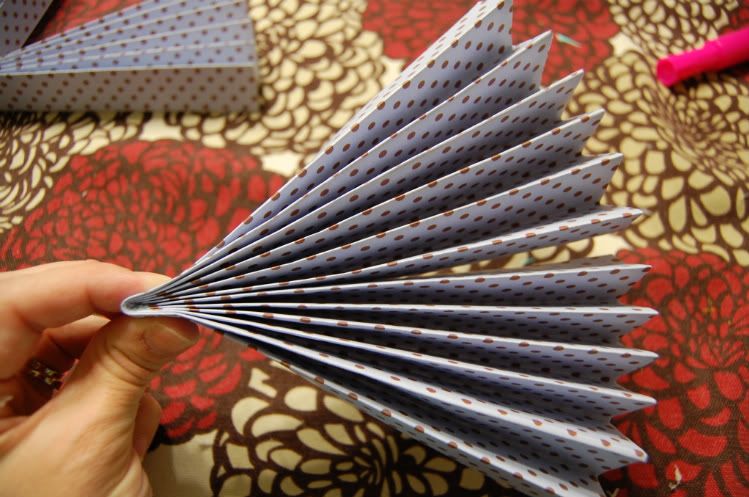
...you fold both pages like an accordion...

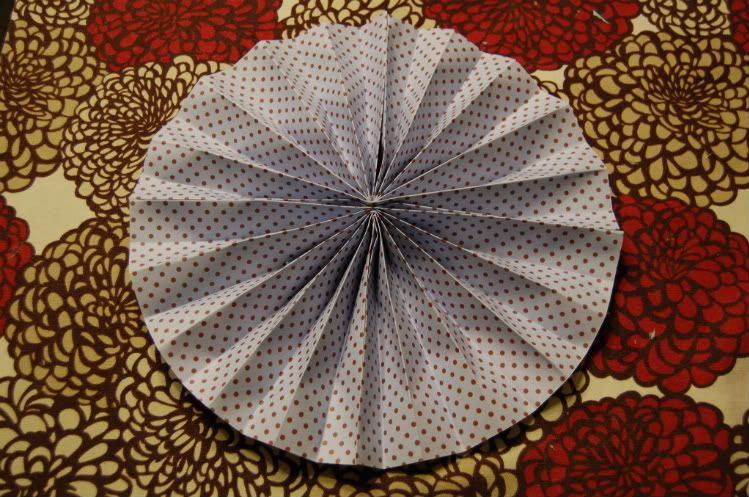
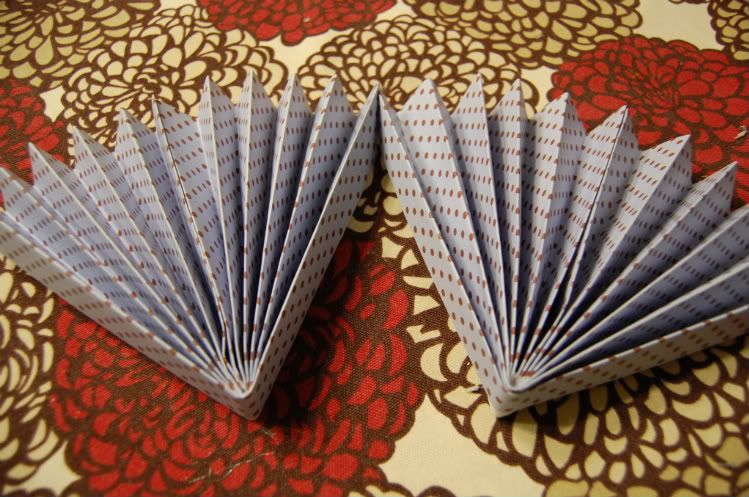
...fold them in the middle and put a little drop of glue...

...then you glue the top...

after you have both little fans ready, you just glue the tops again...

left and right and tadaaaaaaaaaaaa......ready!